
How to patch a hole in plasterboard (small, medium and large holes)
Short answer
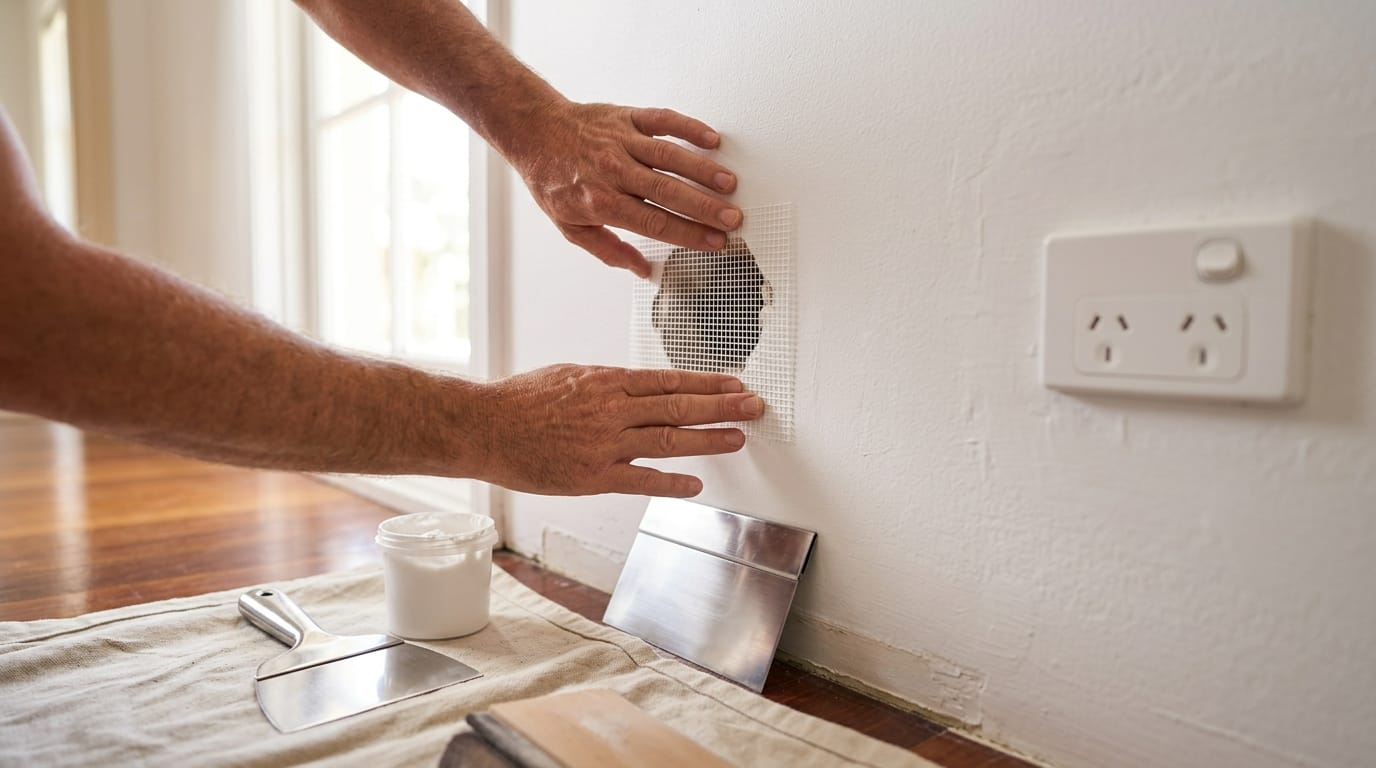
Match the method to the hole. Fill dents and screw holes under about 25 mm with a lightweight filler, then sand and paint. Cover holes up to about 100 mm (doorknob size) with a self-adhesive mesh patch and two or three thin coats of topping compound. For anything bigger, cut the damage back to a neat square, screw timber backing strips inside the wall, fit a new piece of plasterboard, then tape and set the joins. Before cutting, check for cables and pipes behind the wall.
A doorknob through the wall, a gouge from moving furniture, a row of old picture hooks: plasterboard damage is the most common repair in any home, and one of the most satisfying to fix yourself. The trick is choosing the right repair for the size of the hole. Here’s all three, with exactly what to buy.
First: which repair do you need?
| Damage | Repair | Time (incl. drying) |
|---|---|---|
| Dents, scrapes, nail and screw holes (under ~25 mm) | Fill and sand | 1–2 hours |
| Holes up to ~100 mm (doorknob, fist) | Mesh patch + topping compound | Half a day to a day |
| Bigger than ~100 mm, or crumbling edges | Cut out and replace with a new piece | 1–2 days |
Drying times depend on the product and the weather. Setting-type compounds are faster; follow the bag.
Before you start: what’s behind the wall?
Electrical cables and water pipes run inside walls, often straight up and down from power points and switches, or across from taps. Never cut blind.
- Look through the hole with a torch before cutting anything.
- Use a stud finder with live-wire detection.
- If a cable or pipe is damaged, stop. Repairs to fixed wiring need a licensed electrician, and pipework needs a licensed plumber.
Older homes: if your wall isn’t plasterboard but fibro or another older sheet material (common before 1990), it may contain asbestos. Don’t cut, drill or sand it until it’s been tested.
Repair 1: dents, scrapes and small holes (under ~25 mm)
You need: lightweight wall filler or topping compound, a 50–100 mm filling knife, 120–180 grit sandpaper or a sanding block, primer/sealer and paint.
- Clean up the hole. Cut away loose paper and crumbs with a utility knife so nothing is sticking up.
- Fill it. Press filler firmly into the hole with the knife, then drag the knife across to leave it slightly proud.
- Let it dry, then sand it flush. Run your hand over it; you shouldn’t feel an edge.
- Second coat if needed. Filler shrinks as it dries, especially in deeper holes.
- Prime, then paint. Unprimed filler shows through as a dull patch (“flashing”).
Repair 2: holes up to about 100 mm
You need: a self-adhesive fibreglass mesh patch (bigger than the hole by at least 25 mm all round), topping compound, a 100–150 mm broad knife, sandpaper, primer and paint.
- Trim the edges so no torn paper or broken gypsum sticks out.
- Stick the mesh patch centred over the hole and press it flat.
- First coat: spread topping compound over the patch, pressing it through the mesh. Keep it thin and feather the edges out 50–100 mm past the patch.
- Let it dry fully, then lightly sand any ridges.
- Second and third coats, each a little wider and thinner than the last. Wide, thin coats are what make a patch disappear.
- Final sand, wipe off the dust, prime, and paint the whole wall section (corner to corner) so the sheen matches.
Tip: hold a torch flat against the wall and look along it. Side light shows every ridge you’ll otherwise only see after painting.
Repair 3: large holes (replace the section)
You need: an offcut of plasterboard the same thickness as the wall (usually 10 mm for walls, check the edge of the hole), a plasterboard or keyhole saw, a utility knife, two timber battens slightly longer than the hole, plasterboard screws, a drill, paper or mesh joint tape, base-coat and topping compound, a broad knife, sandpaper, primer and paint.
- Mark a neat square around the damage and cut it out with the saw, checking for cables and pipes first.
- Fit backing: slide two battens into the hole, one at each side, and screw through the plasterboard into them so they’re held firm behind the opening.
- Cut a patch from your offcut to fit the square, and screw it to the battens. Sink the screw heads just below the surface without tearing the paper.
- Tape the joins with joint tape bedded in base-coat compound.
- Coat and feather: two or three thin coats over the joins and screw heads, each wider than the last, letting each dry.
- Sand, prime and paint.
If the hole runs into a corner, a ceiling, or across a stud, or you’re patching a big section of a wet-area wall, this is a job worth paying a plasterer for.
Shopping list
| Item | Small hole | Medium hole | Large hole |
|---|---|---|---|
| Filler / topping compound | ✓ | ✓ | ✓ (plus base coat) |
| Self-adhesive mesh patch | ✓ | ||
| Plasterboard offcut, battens, screws | ✓ | ||
| Joint tape | ✓ | ||
| Sandpaper / sanding block | ✓ | ✓ | ✓ |
| Primer/sealer and paint | ✓ | ✓ | ✓ |
Tools: filling knife and 100–150 mm broad knife, utility knife, sanding block, drill/driver, plasterboard saw (large holes), stud finder with live-wire detection, torch, dust mask and safety glasses.
DIY or tradie?
Plasterboard patching is DIY-safe in every Australian state. It’s cosmetic building work with no licence required. The exceptions are anything behind the wall: moving or repairing electrical cables (licensed electrician) and water pipes (licensed plumber). Jib’s DIY-or-tradie verdict flags those steps automatically when you photograph the job.
Frequently asked questions
Can I use a mesh patch on a big hole? Mesh patches work up to roughly 100–150 mm. Beyond that, the patch flexes when pressed and the compound cracks. Cut out and replace instead.
How long before I can paint? When the compound is completely dry, it changes from grey to white and stops feeling cool to the touch. That can be a few hours for setting compounds or overnight for air-drying ones. Always prime first.
Why can I still see the patch after painting? Usually the edges weren’t feathered wide enough, the patch wasn’t primed, or only the patch was painted. Sand wider, prime, and repaint the whole wall section.
Is it plasterboard or fibro? Plasterboard has a paper face and a soft chalky core that crumbles when broken. Fibro (fibre cement) is harder and more brittle, and in older homes may contain asbestos. If you’re unsure, get it tested before cutting.
Sources
Every rule on this page is taken from these official sources. If a rule has changed, please tell us and we’ll fix it.
This guide is general information, not legal or professional advice. Rules differ between states, councils and individual properties, and they change. Confirm with your state regulator or council before starting work, and if in doubt, get a licensed tradesperson.